The first step in converting your API data into a chart, table or HTML widget is to connect to your chosen API endpoint.
An API, or more specifically an API endpoint, is simply just a URL that you connect to and then some sort of data is returned. We then use that data to create the widget.
Connecting to an API can be as simple as adding the URL to the API endpoint, although many APIs will also require an api key or some other form of authentication such as a bearer token. This is very simple to do in API Widgets.
So let’s take a look at how we can connect to an API using API Widgets.
Visit the Widget Builder page
The first step is to go the Builder page by clicking the Get Started button above or go here: https://apiwidgets.com/builder
The Builder page looks like the below. There are 3 simple steps, but we are just concerned with the 1 Data Source section as shown below.
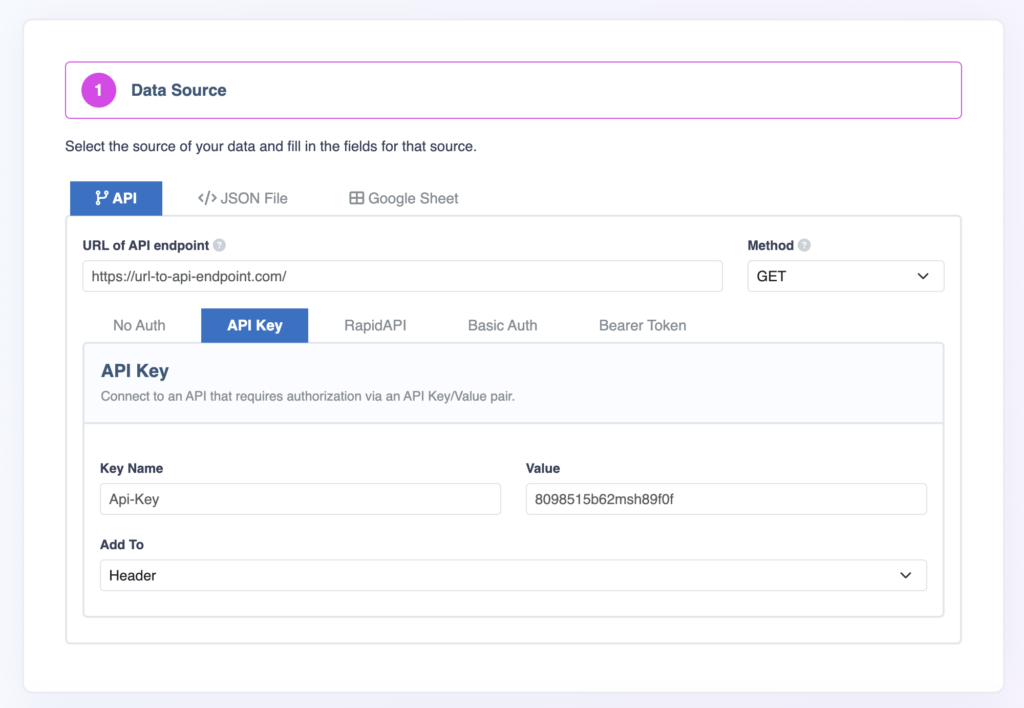
As you can see there is a URL field and a Method field.
URL Field
Within the URL field, we simply add the full URL to the API endpoint, including any parameters.
The parameters are the bits on the end of a URL that include a ? and a bunch of & and = symbols. A typical API endpoint URL could look something like this: https://yahoo-finance166.p.rapidapi.com/api/stock/get-chart?region=US&range=1d&symbol=AAPL&interval=60m
Method Field
The method refers to the HTTP method that the particular API endpoint uses.
Typically when we are receiving data it will be the GET method, but occasionally it will be the POST method. The documentation for the API will outline which method to use.
API Authentication
Looking at the row of buttons beneath the 2 fields, we can see various options for authentication.
Using any of these will depend on the particular API you are connecting to and you will need to refer to the API documentation to find out which method (if any) your API uses.
Let’s take a look at these API authentication methods and how to use them.
No Auth
If your API does not use any type of authentication, then we simply leave the No Auth button selected.
API Key
Clicking on the API Key button provides a few fields to allow us to use the API Key method and to customise it depending on your API requirements.
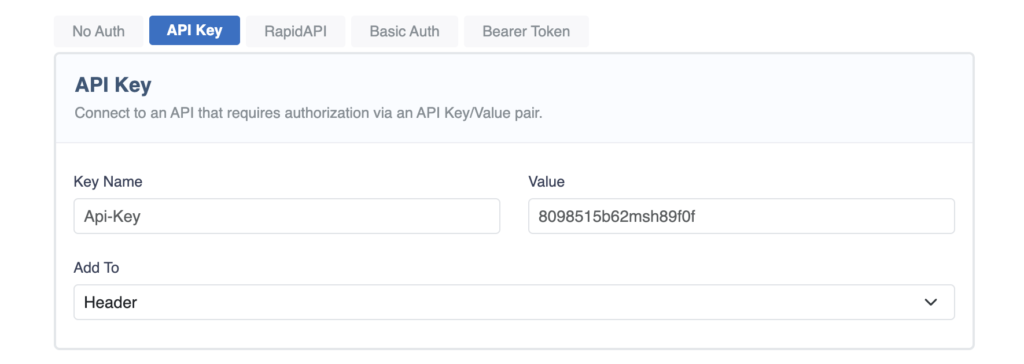
Key Name field
An API Key can be named anything. It could be api-key, api_key, API-KEY, KEY, Api_Key or really anything that API creator decided on. You just need to add it to this field.
Value field
The value is simply the actual API key value and it will almost always be a jumbled mix of letters and numbers, much like a very long password.
Add To field
Depending on your API, the key and the value will need to be added to either the Header or the Query String. The Add To field provides these 2 options and you just need to select whichever option applies to your API.
RapidAPI
If you are using an API from RapidAPI, you simply need to click this option and add your RapidAPI key.
You can also check out this article on how to create a chart using RapidAPI which runs through the entire process of creating a chart using a finance API from RapidAPI.

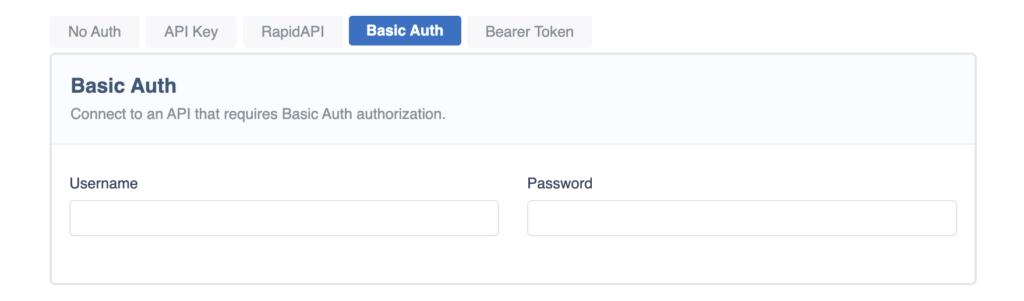
Basic Auth
The Basic Auth API authentication method requires a Username and a Password and this is then added the the headers of the API request.
Simply add your Username and Password to the fields and this authentication method is all handled in the background.
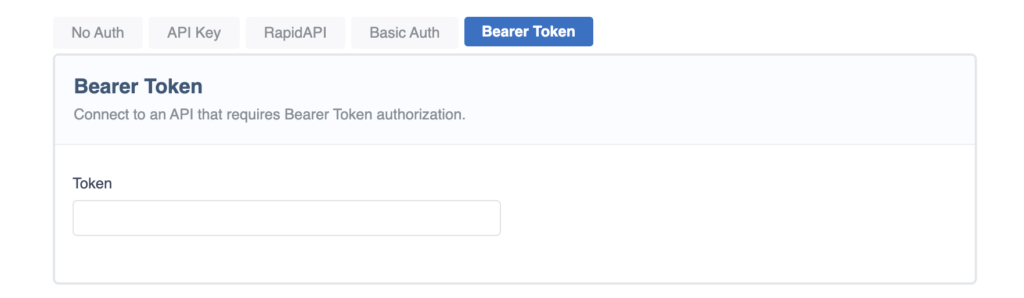
Bearer Token
The Bearer Token method simply requires a token to be pasted into the field. Simple.
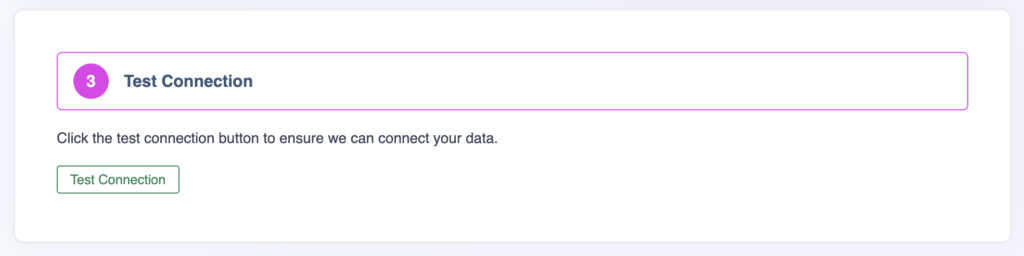
Testing the API Connection
Once you have added your URL, the Method and then your Auth Method, you can now click the Test Connection button.
This will send a request to the API and then return either an error that we can’t connect, or it will show a success message and also display whatever the API has returned. You can see the successful API connection below.
If this data looks correct then we can move onto the next step which is selecting the type of Widget you would like to create – a chart, a table or custom HTML.
And that is how easy it is to connect your API using API Widgets.